Equipment
I spent many hours on minimizing the backlash of the worm gear but never could force it below +/- 50 arcsec. Of course, this high backlash resulted in some problems with the pointing accuracy and tracking precision. Nevertheless, with patience and practice the equipment was o.k. for the beginning.
The next improvement was the application of the gear-part of a potentiometer to the focusing knob. This really simplified the reproducibility of focusing using a Schreiner-mask (cardboard with 3 holes) or artificial diffraction spikes.
Of course , a dew cap made of camping mat was added and the tube was thermally optimized by applying insulating foil.
Using a Celestron F6.3 and a variable Meade F3.3 focal reducer resulted in a high flexibility concerning the available field of views.
In the mean time, the mount, tripods and the Skysensor are sold. It took a while to sell also the C8 as the optics were quite good (see the image of NGC6543).
C8 on a Vixen GP
mount controlled by a Skysensor 3D
sold
The Parks is sitting on a Gemini40 German mount which is driven by a FS2-controller. The mount is supported by a solid Spindler-Heuer stand which is adjustable in height. This set up for long has been my working horse due to the following advantageous combination of specifications:
- The focal length of 890 mm (F/3.5) fits very well to the pixel size of the Starlight cameras. If a higher magnification / longer focal length is needed this can easily be realized by the Vixen tele-extender (results in F/7).
- Despite the fast F/3.5 the field of view used by the chip of the MX7 shows no significant coma, a corrector can be omitted. For the larger chip of the SXV-H9 a Baader-coma corrector is used in case of working at F/3.5.
- The glass fiber tube shows a very low thermal expansion. Thus, also imaging sessions lasting the whole night can be run without the need of re-focusing due to changing temperatures.
- Of course with the very fast focal ratio of F/3.5 comes the need of collimating the scope after each setup. The Newton puts 20 kg (44 pound) on the scale. Together with 15 kg counter weights and the imaging equipment more than 40 kg sit on the Gemini mount - but this seems to be no problem for the mount and the motors.
- Compared to the Vixen GP, working the first time with the Gemini mount was a real light bulb moment: Due to the high positioning accuracy the objects every time were on the chip at the first attempt. I measured the periodic error to be +/- 5 arcsec which is well within the specification.
- The FS2 runs well and no problems occurred in controlling the scope via Skymap and AstroArt. The only draw back I found, has been the periodic error correction function not working for the Gemini mount. This PEC would allow to further minimize the tracking errors although off axis guiding is involved.
Parks 10"/F3.5 on Gemini 40
controlled by a FS2.
Celestron C5 on Nexstar-mount.
The new scope is fun: imaging is straight forward with crisp images and pure colors. Visually, the scope outperforms the C5 concerning contrast and sharpness.
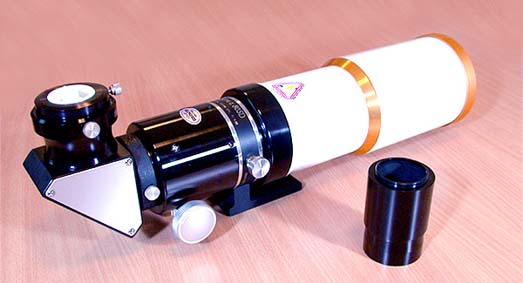
Wiliam APO 80/480
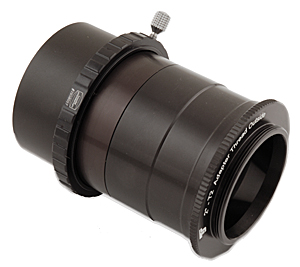 The
first attempt to create a mosaic using the SXV with the 80mm William
and the first image gained with the larger chip of the ALCCD6 (QHY8) showed
that in those cases the use of a flattener is mandatory. Thus, I bought the
TS-Flattener and the results are very convincing, see beneath.
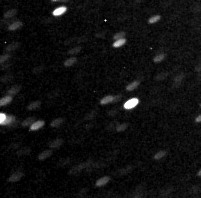
Corner of
the image using the ALCCD6 on the Wiliam APO 80/480
without Flattener
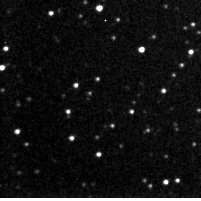
Corner of
the image using the ALCCD6 on the Wiliam APO 80/480
with the TS-Flattener
First I tested the Cassegrain focus with good results. Despite the slow F-ratio / long focal length (2620 mm) and the mediocre average seeing conditions of my observation location I successfully imaged small and faint deep sky objects.
The collimation of the Newton focus took quite a good time and a lot of trial and error experiments. Nevertheless, at least I managed a proper collimation and my expectations of image quality were fulfilled. But it has to be pointed out that collimation of the CN-212 in Newton configuration is quite more complicated compared to the Parks Newton and deviations from the optimum result in drastic coma effects. On the other hand, once a proper collimation has been reached it is significantly more stable compared to the Parks.
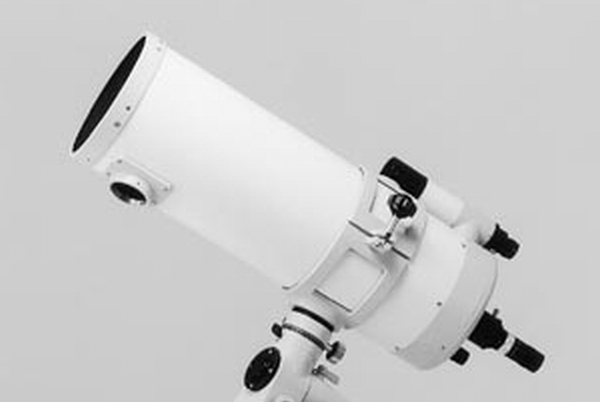
Takahashi CN-212. Sold 2011.
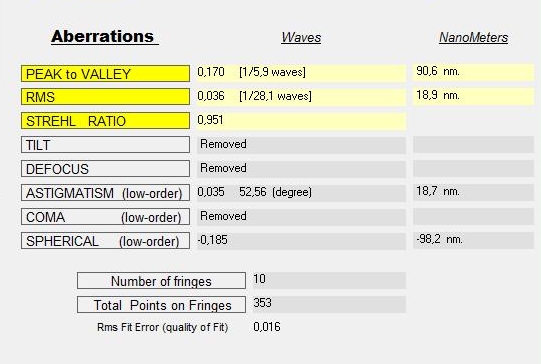
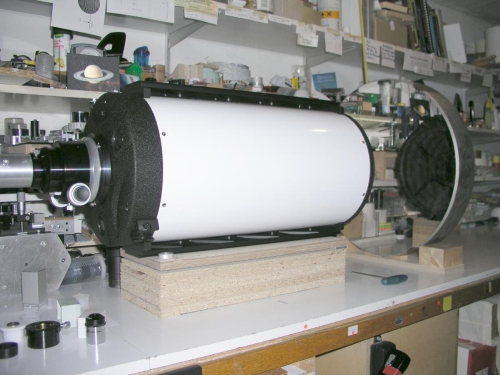
GSO Ritchey-Chrétien 10"F8 at the optical bench of Wolfgang Rohr.
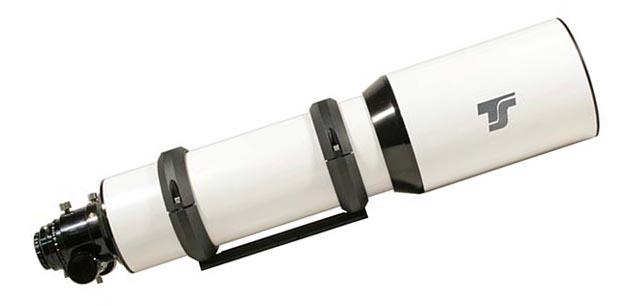 TS Photoline Triplet APO 130mm F7 |
As I very liked the self-guiding option of the camera and the economic setup for color imaging I upgraded after two years to the MX7c. Within 2 years a lot of images with increasing quality were gathered.
With increasing imaging skills the read out noise of the MX7c and the sometimes unsatisfying color synthesis procedure hindered me from advancing in image quality. Therefore, in 2004 I decided to go on with a b/w SXV-H9 and a filter wheel from Naumann.
Thus, I had to learn that a separate guiding scope does not deliver the needed tracing accuracy and a less comfortable off-axis guiding is needed. Well - the comfort of The MX7c was gone but the image quality won.
SXV-H9 -
my third camera from Starlight Xpress
First light showed nice results. Yes, noise is higher and QE lower compared to the SXVH9 but there are no problems with color synthesis and amplifier glow as obtained with the MX7c.
Taking pictures without dark frames and flat fields works good, the sensitivity for Ha is o.k. The ASTROART plug in works without problems.
Nevertheless, I was not able to figure out a reliable procedure for constantly satisfying results. Especially homogeneous saturation levels of the RGB channels were the problem. Thus I decided to sell the ALCCD and to go back to a b/w camera with a larger Chip than the SXV (Atik 383L+).
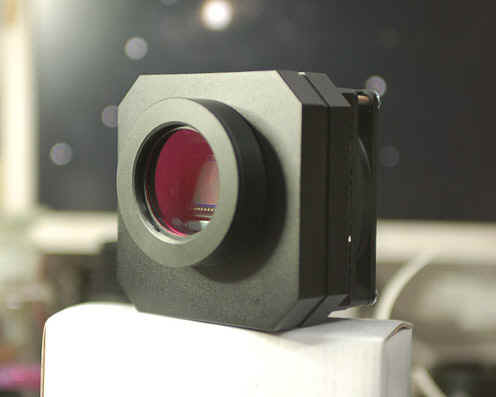
The ALCCD6 (=QHY8)
APS-size color chip
Sold in 2012
The decision for the Atik383L+ was based on 2 facts:
1) to have a chip larger than the SXV available
2) because of the well established KAF8300 Chip.
We will see what I gained compared to the SXV...
Following the advice of my dealer, Wolfi Ransburg, I ordered the smaller ATIK 383 and not the ATIK 4000 with the larger squared chip. This reduced the effort for avoiding vignetting due to filters, autoguiders and so on.
Nevertheless, the 80 mm secondary mirror of my Parks 10" Newton had to be replaced by a 104 mm mirror.
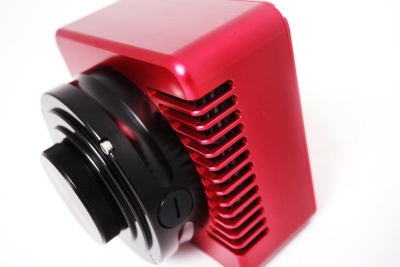
The ATIK383L+
KAF8300 17.6 mm x 13.5 mm b/w Chip
bought 2012
|
Wide
Field Photography |
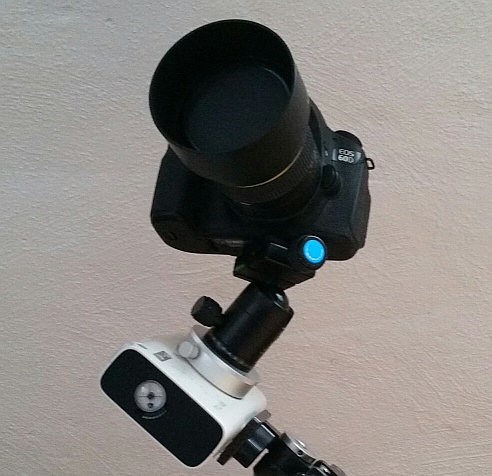
Canon EOS 60Da with Samyang 85mmF1.4 on Vixen Polarie
bought 2017.
Observation Location
The location is very far from ideal: Light pollution due to neighbors and street lights is substantial and only a slot of sky is available for imaging. Additionally seeing is limited due to the direction imaging points above roofs with the effect of thermal turbulences.
Of course, better conditions would be available in the near by Black Forrest but my job is demanding and time is rare
My "sky slot", north is up